
Kale is often praised as a superfood because of its high nutritional value, versatility in the kitchen, and resilience in different growing conditions. While many people imagine rows of kale in garden beds, this hardy leafy green adapts beautifully to container gardening. Growing kale in baskets is an efficient and visually appealing way to enjoy fresh harvests even in limited spaces such as balconies, patios, or small courtyards. With the right setup and care, kale can thrive in baskets and provide you with a steady supply of tender leaves for salads, soups, smoothies, or sautés.
This step-by-step guide will walk you through everything you need to know about planting kale in baskets successfully.
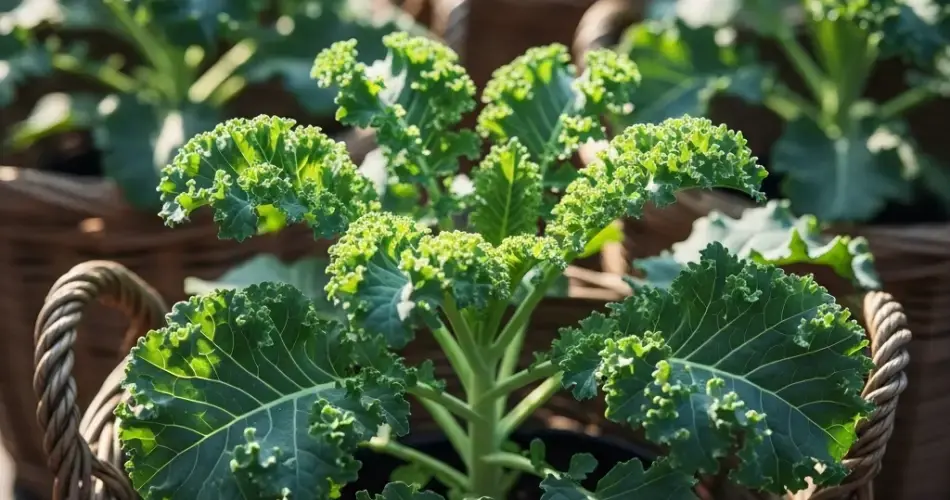
Why Grow Kale in Baskets?
Growing kale in baskets offers unique advantages:
- Space-saving: Perfect for small apartments or urban settings where garden beds aren’t possible.
- Mobility: Baskets can be moved to chase sunlight or shelter plants from extreme weather.
- Air circulation: Elevated containers allow better airflow, reducing the chances of fungal diseases.
- Visual appeal: Cascading green leaves from baskets add beauty to porches and balconies.
By growing kale this way, you combine practicality with a touch of greenery that enhances your outdoor space.
Step 1: Choose the Right Basket
Not all baskets are suitable for planting. Selecting the right one ensures healthy growth.
- Size: Aim for a basket at least 12–14 inches in diameter and 8–10 inches deep. This gives roots enough room to develop.
- Material: Woven baskets, plastic containers, or wire baskets lined with coconut coir or burlap work well.
- Drainage: Essential for kale. Make sure the container has small holes or that the lining allows excess water to escape.
Keep in mind that once soil and water are added, baskets become heavy. Hang them from strong hooks or chains that can handle the weight.
Step 2: Prepare the Soil
Kale prefers fertile, well-draining soil. In baskets, the right soil mix ensures roots stay healthy.
A good recipe includes:
- 2 parts high-quality potting soil
- 1 part compost or well-rotted manure for nutrients
- 1 part perlite, vermiculite, or coarse sand for drainage
This mix balances moisture retention with good airflow. You can also sprinkle in a handful of slow-release fertilizer before planting to give young kale plants a boost.
Step 3: Planting Seeds or Seedlings
Kale can be grown either from seed or from nursery seedlings.
- From seed: Sow seeds directly into the soil about ¼ to ½ inch deep. Space them about 6 inches apart. Seeds usually germinate within 7–10 days.
- From seedlings: Transplant young plants into the basket, keeping 8–10 inches between each for proper growth.
If you’re planting multiple seedlings in one basket, avoid overcrowding. Overcrowded plants compete for nutrients and light, producing smaller leaves.
Step 4: Provide Sunlight and Ideal Conditions
Kale grows best in cool weather but still requires sunlight for strong growth.
- Sunlight needs: Place baskets where they get 4–6 hours of direct sunlight daily. In warmer climates, offer partial shade during the hottest part of the afternoon.
- Temperature: Kale thrives in cooler temperatures, around 55–75°F (13–24°C). It can tolerate light frost, which often improves the flavor by making leaves sweeter.
One advantage of baskets is that they can easily be moved if conditions change.
Step 5: Watering and Feeding
Kale enjoys consistent moisture but does not tolerate soggy roots.
- Watering: Check the soil daily, especially since baskets dry out faster than ground beds. Water when the top inch feels dry, but don’t allow standing water.
- Mulching: Add a thin layer of straw or shredded leaves to help retain moisture.
- Feeding: Every 3–4 weeks, apply a diluted liquid fertilizer or compost tea. Nitrogen-rich fertilizers are especially beneficial because kale is a leafy crop.
Step 6: Ongoing Care and Maintenance
To keep kale healthy and productive:
- Thin seedlings: If too many seeds germinate, thin them early to avoid overcrowding.
- Prune damaged leaves: Remove yellow or wilted leaves to encourage new growth.
- Watch for pests: Aphids and cabbage worms are common. Inspect plants regularly and treat with organic solutions such as neem oil or soapy water if necessary.
Because baskets are elevated, they often face fewer ground-level pests, making care easier.
Step 7: Harvesting Kale
One of the great advantages of kale is its “cut-and-come-again” harvest style.
- Begin harvesting once leaves are about 4–6 inches long.
- Always pick the lower, outer leaves first, leaving the central growth intact.
- Harvest regularly to encourage the plant to keep producing.
With proper care, a single basket can keep supplying fresh kale for several months.
Conclusion
Growing kale in baskets is a practical, attractive, and sustainable way to bring nutritious greens into your kitchen. From choosing the right container and soil mix to managing watering and harvesting, the process is simple enough for beginners yet rewarding for experienced gardeners. Hanging baskets filled with kale not only save space but also turn ordinary outdoor areas into vibrant green corners.
By following these step-by-step tips, you can enjoy a steady supply of kale at arm’s reach, ready to add to your meals. This low-maintenance crop proves that even with limited space, fresh and healthy food can be grown right at home.
