
Spinach is one of the most rewarding leafy greens to grow. Not only is it packed with nutrients like iron, calcium, and vitamins A, C, and K, but it also thrives in small spaces. For urban gardeners with limited room, basket gardening provides a creative and efficient way to grow fresh spinach right on a balcony, patio, or windowsill. Lightweight, portable, and attractive, baskets are excellent alternatives to traditional pots. With the right setup and care, you can harvest a steady supply of tender spinach leaves without needing a backyard.
This guide walks you through each step of planting and maintaining spinach in baskets, from choosing containers to harvesting your first crop.
Why Choose Baskets for Spinach?
Spinach has shallow roots, which makes it well-suited for basket gardening. Unlike deep-rooted vegetables, spinach only requires about 6–8 inches of soil. Baskets also offer excellent drainage, helping to prevent root rot. Another advantage is portability: baskets can easily be shifted around to follow sunlight or moved indoors during sudden temperature drops.
Aside from their practicality, baskets add visual charm to small spaces. Whether hung on railings or placed on stands, they can turn your balcony into a lush and functional green corner.
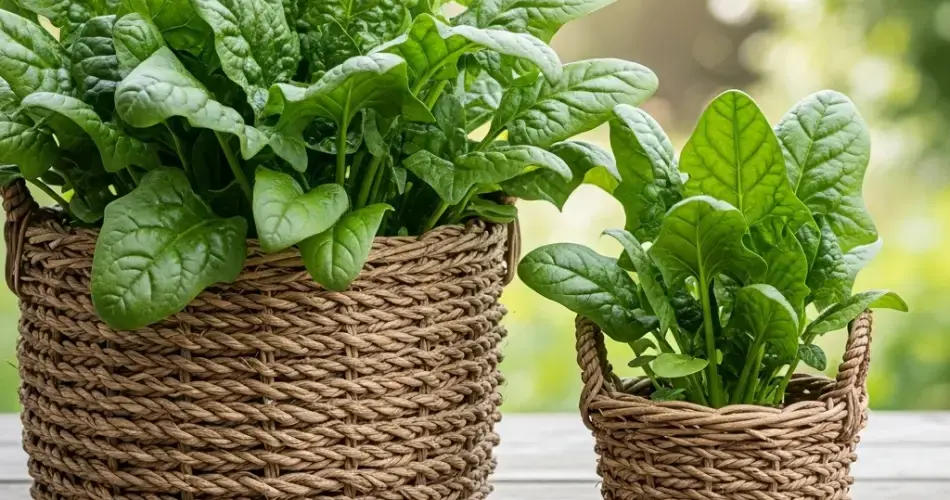
Step 1: Selecting the Right Basket
Choosing the right basket is the foundation of successful spinach growing.
- Depth: A basket 8–10 inches deep works well for spinach roots.
- Width: Wider baskets allow more plants to grow side by side.
- Material: Woven wicker, rattan, or wire baskets are all good options, provided they are lined properly.
- Lining: Use burlap, coconut coir, or landscape fabric to keep soil in place while allowing excess water to drain.
If you’re repurposing an old basket, check that it’s sturdy enough to hold soil and water without collapsing.
Step 2: Preparing the Soil Mix
Spinach thrives in nutrient-rich, well-draining soil. For basket planting, a lightweight mix is ideal. A good recipe includes:
- 2 parts high-quality potting mix
- 1 part compost or aged manure for nutrients
- 1 part perlite or coarse sand for aeration
Fill the basket with soil, leaving about one inch from the rim to prevent overflow when watering. If the basket is deep, you can add pebbles at the bottom for additional drainage.
Step 3: Planting Spinach Seeds
Spinach can be grown directly from seeds, which germinate quickly and adapt well to containers.
- Sow directly: Scatter seeds evenly across the soil surface. Cover them lightly with a thin layer of soil, no deeper than ½ inch.
- Spacing: For larger leaves, sow seeds about 3–4 inches apart. For baby spinach, seeds can be planted closer together.
- Watering: Mist the soil gently after planting to avoid displacing seeds.
Seeds usually germinate within 5–10 days, depending on temperature.
Step 4: Sunlight and Placement
Spinach prefers cooler weather and partial sunlight. Ideally, place your basket where it receives 4–6 hours of light daily. In very hot climates, avoid direct afternoon sun, which can cause bolting (premature flowering). A partially shaded balcony or a spot that receives morning light is perfect.
Since baskets are portable, you can adjust placement as the seasons change to ensure the plants receive optimal conditions.
Step 5: Watering and Fertilization
Because baskets dry out faster than traditional pots, watering consistency is essential.
- Watering: Keep soil moist but not waterlogged. Spinach prefers even moisture, so check daily, especially in warmer weather.
- Mulching: A thin layer of mulch such as straw or shredded leaves helps retain moisture.
- Fertilization: Every 2–3 weeks, feed the plants with diluted liquid fertilizer or compost tea to encourage lush leaf growth.
Step 6: Thinning and Maintenance
When seedlings reach 2–3 inches tall, thin them out if they are too crowded. Leave enough space for each plant to grow without competing for nutrients. The removed seedlings can be enjoyed as microgreens.
Keep an eye out for pests like aphids or leaf miners. Handpick pests or spray with a mild soap solution if necessary. Regularly trim off yellow or damaged leaves to keep plants healthy.
Step 7: Harvesting Spinach
Spinach grows quickly and is ready to harvest in about 30–40 days after planting. You can harvest in two ways:
- Cut-and-come-again: Snip the outer leaves when they’re large enough, leaving the central growth intact. This method allows for continuous harvests over several weeks.
- Full harvest: For mature plants, cut the entire plant at the base once it reaches full size.
If temperatures rise and plants begin to bolt, harvest immediately as the leaves become bitter after flowering starts.
Benefits of Spinach Basket Gardening
- Space-saving: Perfect for balconies, patios, and small urban spaces.
- Mobility: Easy to move baskets to follow sunlight or protect from extreme weather.
- Aesthetic value: Rustic baskets add charm to small spaces while being productive.
- Fresh greens on demand: Harvesting straight from your balcony ensures fresher, pesticide-free produce.
Conclusion
Growing spinach in baskets is a simple and rewarding way to enjoy homegrown greens without needing a large garden. With just a basket, good soil, and a bit of care, you can have continuous harvests of nutrient-rich spinach right at your doorstep. This approach not only saves space but also turns small urban areas into productive and beautiful green spaces.
Whether you’re a beginner gardener or an experienced grower seeking space-saving options, basket gardening with spinach is a perfect choice. With the step-by-step guide above, you can start planting today and enjoy fresh, crisp leaves in just a few weeks.
