
Sweet potatoes are a nutritious and delicious crop that can be grown easily at home, even without a garden. One of the simplest and most effective methods is using a Styrofoam box. This budget-friendly approach allows for excellent root growth, moisture control, and portability. With the right care and techniques, you can grow sweet potatoes twice as big as usual! This guide will show you step by step how to achieve an abundant harvest using just a Styrofoam box.
Why Use a Styrofoam Box for Growing Sweet Potatoes?
Using a Styrofoam box for sweet potatoes offers several advantages:
- Affordable and Accessible – You can reuse packaging boxes or buy them cheaply.
- Excellent Insulation – Maintains soil temperature, which is crucial for tuber development.
- Lightweight and Portable – Easily move your plants to get optimal sunlight.
- Good Moisture Retention – Prevents excessive drying out while ensuring proper drainage.
- Space-Saving – Ideal for balconies, patios, and small gardens.
Step 1: Selecting the Right Styrofoam Box
Not all Styrofoam boxes are the same. Choose one that meets the following criteria:
- Depth: At least 12-18 inches deep for proper root expansion.
- Size: A medium to large box (at least 18 inches wide) to accommodate multiple plants.
- Sturdy Material: A thick-walled Styrofoam box will last longer and provide better insulation.
- Drainage Holes: If the box doesn’t have drainage holes, poke several at the bottom to prevent waterlogging.
Step 2: Preparing the Soil Mix
Sweet potatoes thrive in well-draining, loose, and nutrient-rich soil. Here’s how to prepare the best mix:
- Use a combination of potting soil, compost, and sand (ratio of 2:1:1) for aeration and nutrients.
- Add organic fertilizers like composted manure or worm castings.
- Maintain a slightly acidic to neutral pH (5.5-6.5).
- Avoid heavy, clay-based soil, as it can restrict tuber growth.
Pro Tip:
Adding perlite or coconut coir can further improve aeration and moisture retention.
Step 3: Selecting and Preparing Sweet Potato Slips
Sweet potatoes are grown from slips, which are young shoots sprouted from a mature sweet potato. You can buy slips or grow them yourself:
How to Grow Your Own Slips:
- Choose a Healthy Sweet Potato: Select an organic, disease-free tuber.
- Place It in Water: Suspend half of the potato in a jar of water using toothpicks.
- Provide Warmth and Light: Keep in a warm, sunny location (70–80°F).
- Wait for Sprouts: In 2-3 weeks, slips will start emerging.
- Remove and Root the Slips: Once the sprouts reach 4-6 inches, twist them off and place them in water until roots develop.
Pro Tip:
Soaking the slips in water for a few days before planting encourages strong root development.
Step 4: Planting Sweet Potato Slips in the Styrofoam Box
Once your slips have developed roots, it’s time to plant them:
- Fill the Styrofoam Box with your prepared soil mix, leaving about 2 inches from the top.
- Make Holes 3-4 inches deep, spacing them 10-12 inches apart.
- Plant the Slips by burying the roots and the lower stem, leaving the top leaves above the soil.
- Water Well to settle the soil and encourage root establishment.
Pro Tip:
Laying the slips at a slight angle helps promote larger tuber growth.
Step 5: Providing Proper Care
To grow large, healthy sweet potatoes, follow these essential care tips:
Watering:
- Keep soil moist but not soggy, especially during the first few weeks.
- Reduce watering as the plant matures to prevent root rot.
- Water early in the morning to allow proper absorption.
Sunlight:
- Sweet potatoes need 6-8 hours of full sun daily.
- If growing indoors, place them near a south-facing window or use grow lights.
Fertilization:
- Apply organic fertilizer (compost tea, fish emulsion) every 2-3 weeks.
- Avoid high-nitrogen fertilizers, as they encourage leafy growth instead of tubers.
Mulching:
- Add a layer of mulch (straw, dried leaves) to retain moisture and suppress weeds.
Trellising (Optional):
- Sweet potato vines can be trained onto a trellis to save space and improve air circulation.
Step 6: Preventing Pests and Diseases
Common issues when growing sweet potatoes include:
- Pests: Aphids, weevils, and whiteflies – treat with neem oil or insecticidal soap.
- Diseases: Root rot and fungal infections – ensure proper drainage and avoid overwatering.
- Rodents: Keep the box elevated or use protective netting.
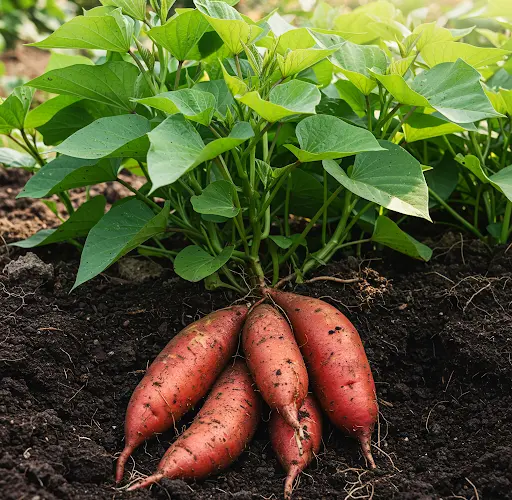
Step 7: Harvesting Sweet Potatoes
Sweet potatoes are ready to harvest in 90-120 days. Here’s how to tell when they’re mature:
- Leaves start turning yellow and wilting.
- Dig gently with your hands or a small tool to avoid damaging tubers.
- Let harvested sweet potatoes cure for 7-10 days in a warm, dry place (80-85°F) to develop sweetness.
Step 8: Storing and Using Your Homegrown Sweet Potatoes
Once cured, store sweet potatoes in a cool, dark place. They last up to 6 months when stored properly.
Ways to Enjoy Your Sweet Potatoes:
- Baked or roasted for a healthy snack.
- Mashed or pureed for soups and baby food.
- Made into fries, chips, or pies for delicious treats.
- Added to smoothies for a nutrient boost.
Conclusion
Growing sweet potatoes in a Styrofoam box is a simple and effective way to produce large, healthy tubers at home. With the right soil, proper care, and a little patience, you can achieve a bountiful harvest without needing a garden. Whether you live in an apartment, have a small backyard, or just want to experiment with container gardening, this method is perfect for you. Start today and enjoy fresh, homegrown sweet potatoes straight from your Styrofoam box!
