
The Right Way to Grow Rosemary: A Step-by-Step Guide
Rosemary is a versatile herb known for its aromatic fragrance, culinary uses, and medicinal properties. However, many people struggle with propagating rosemary at home, especially when it comes to rooting new cuttings. If you’ve ever tried to grow rosemary from a cutting and failed, you’re not alone. But don’t worry! This guide will show you how to successfully propagate rosemary with a few simple steps, ensuring that you have a thriving plant in no time.
Why Rosemary is a Great Plant to Grow
Rosemary is not only a beautiful plant but also offers numerous benefits. It’s known for its ability to improve digestion, boost memory, and reduce inflammation. Rosemary can be used fresh or dried in a variety of dishes, and its essential oil is often used in aromatherapy for its calming and refreshing properties. Growing rosemary at home means you’ll always have a fresh supply of this versatile herb.
Step-by-Step Guide to Propagate Rosemary
Now that you know why rosemary is a fantastic plant to grow, let’s dive into how to propagate it successfully from cuttings.
1. Choosing the Right Rosemary Branches
The first step in propagating rosemary is selecting the right branches to cut. For successful rooting, it’s important to choose branches that are woody, not too young or too old. Look for stems that have already started to develop a woody texture, as these are more likely to root successfully. Avoid cutting the soft, green growth near the tips of the branches, as these are less likely to form roots.
2. Cutting the Rosemary Stems
Once you’ve identified the right branches, grab a clean, sterilized pair of scissors or pruning shears. This is an important step to prevent any fungus or bacteria from transferring to the plant. Cut the stems at a slight angle to create a clean, sharp cut. It’s best to cut about 4-6 inches (10-15 cm) of the stem from the parent plant.
3. Preparing the Cuttings
After cutting the stems, you’ll need to remove the leaves from the lower portion of each cutting. Carefully strip off the leaves from the bottom half of the stem, leaving the top part with leaves intact. This will help prevent the leaves from rotting when placed in water, and it will also encourage root development along the bare section of the stem.
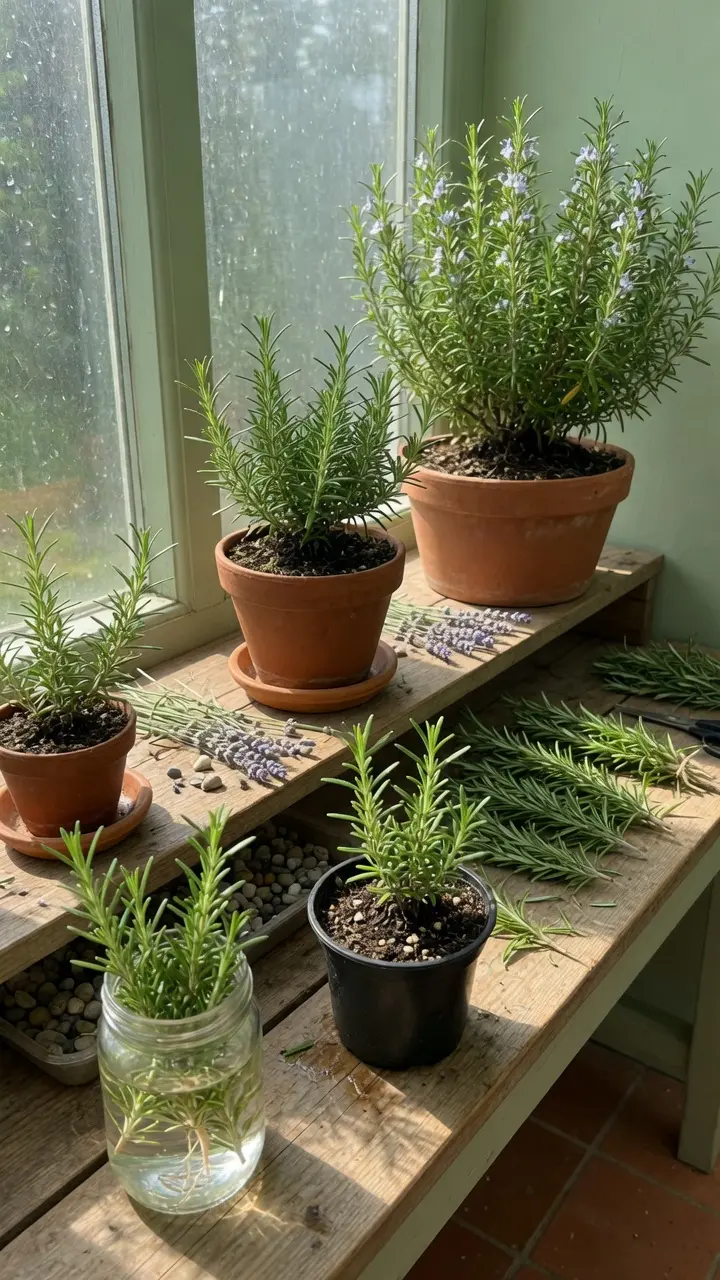
4. Placing the Cuttings in Water
Now that you’ve prepared your rosemary cuttings, it’s time to place them in water. Use a clean container and fill it with water, preferably without chlorine. Place the cut ends of the rosemary stems into the water, making sure that the stripped portion is submerged. You should see roots begin to form within 7 to 14 days, though it can take a little longer for rosemary to root compared to other herbs.
During this time, keep an eye on the water level and top it up if necessary. It’s important to keep the cuttings in a location where they’ll receive indirect light but not direct sunlight, which can cause the water to evaporate too quickly.
5. Transplanting the Rosemary Cuttings
After a week or two, when the rosemary cuttings have developed roots, it’s time to transplant them into soil. The key to a successful transplant is preparing the soil correctly. Choose a pot that is at least 3 liters in size, and make sure it has proper drainage to prevent root rot.
Fill the pot halfway with a good quality potting soil, preferably a mix that is light and well-draining. If you don’t have potting soil, you can use garden soil or a mix of compost and soil. Next, add some aged manure (either cow or horse manure) to the soil to enrich it. Fill the pot almost to the top with this nutrient-rich mixture.
6. Planting the Cuttings in the Soil
Once the soil is prepared, gently take each rooted rosemary cutting from the water and plant it into the soil. Make a hole in the center of the pot and carefully place the cutting inside, ensuring the roots are fully buried. Press the soil around the base of the cutting to stabilize it and ensure good contact with the soil.
7. Caring for Your Newly Planted Rosemary
After planting your rosemary, water it lightly to help settle the soil around the roots. From this point, it’s crucial to keep the soil consistently moist but not soaking wet. Water the plant regularly, ensuring that the soil doesn’t dry out completely. Place the pot in a location where it will receive indirect light—near a window or in a shaded area on your balcony.
During the first month, avoid placing the rosemary in direct sunlight, as the plant is still acclimating to its new environment. After about a month to a month and a half, the rosemary will be well-rooted and can be moved to a sunnier spot to encourage further growth.
Additional Tips for Growing Rosemary
- Sunlight: Rosemary thrives in full sunlight, so once it’s established, make sure it receives at least 6 hours of direct sunlight each day.
- Soil: Rosemary prefers well-draining soil. If you’re planting in the ground, make sure the area doesn’t get waterlogged.
- Pruning: Regularly prune your rosemary to encourage new growth and prevent it from becoming too woody. Trim the tips of the plant, and use the pruned stems for cooking or making herbal remedies.
Conclusion
By following these simple steps, you can easily propagate rosemary and grow a healthy, thriving plant at home. Whether you use it for cooking, for its medicinal benefits, or simply to enjoy its lovely fragrance, rosemary is a wonderful addition to any garden or indoor plant collection. With a little patience and care, you’ll be able to grow this powerful herb successfully from a cutting, and soon you’ll have a beautiful rosemary plant to enjoy all year round.
