Swiss chard is one of the most rewarding leafy greens you can grow at home. Known for its colorful stems and nutrient-rich leaves, this versatile vegetable thrives in both cool and warm weather, making it a dependable addition to any garden. Even if you don’t have access to a traditional garden bed, Swiss chard can flourish in wooden containers, giving you the chance to grow it on a balcony, patio, or even a sunny corner indoors.
This guide explains how to successfully grow Swiss chard in wooden boxes, from choosing the right container to harvesting your own supply of fresh, homegrown greens.
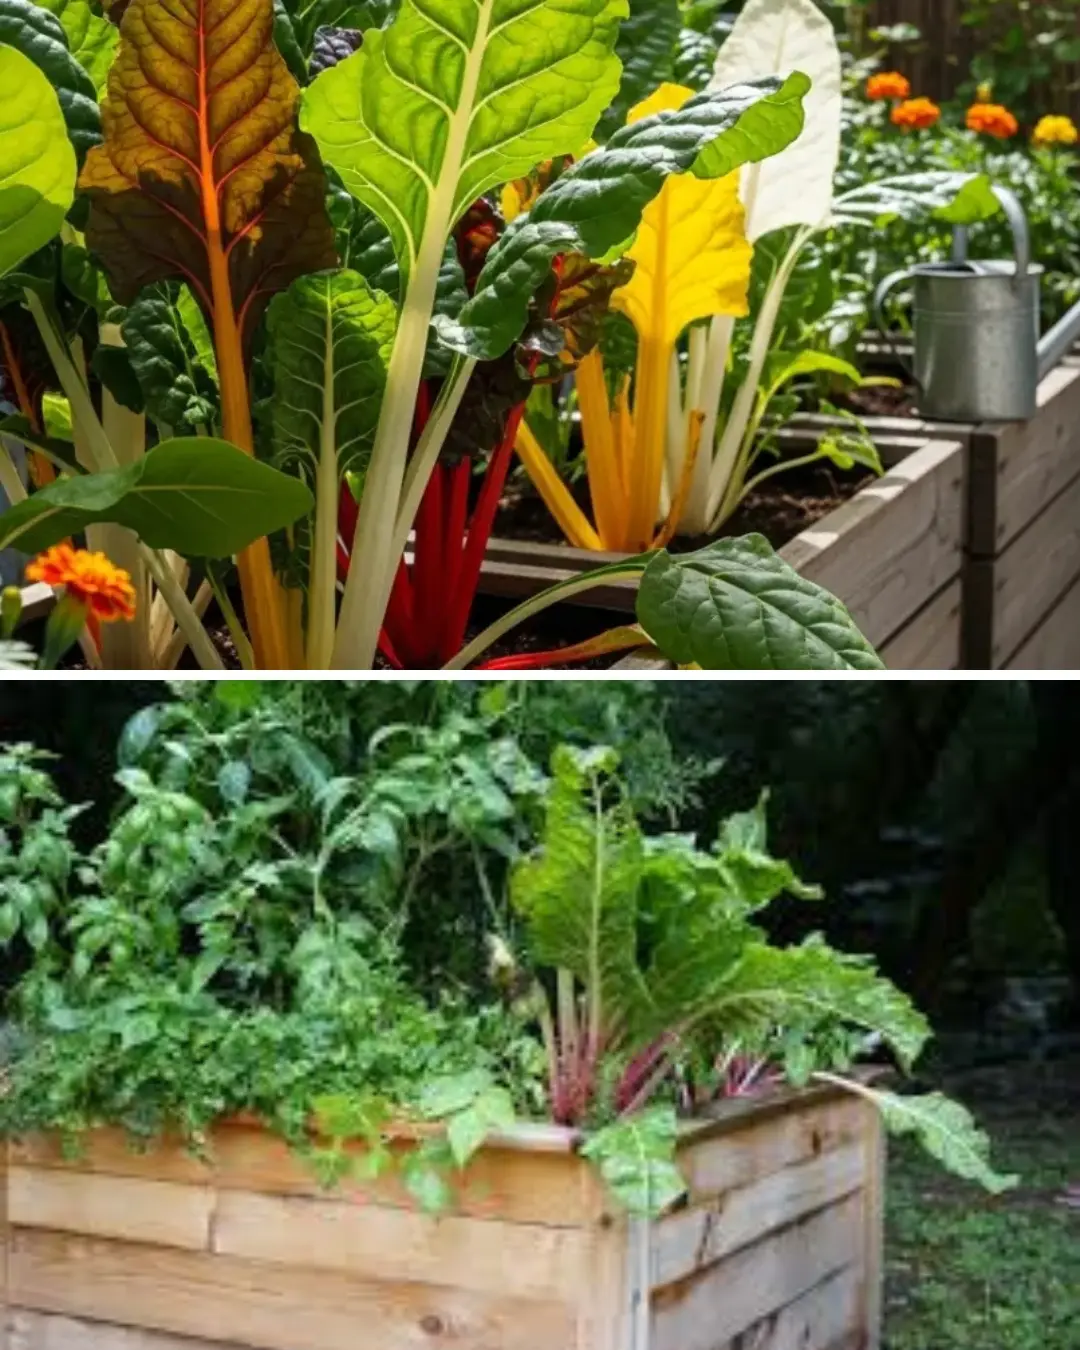
Why Grow Swiss Chard in Wooden Containers?
Swiss chard is an excellent choice for container gardening because it is adaptable and resilient. Unlike crops that require deep soil or wide spacing, Swiss chard can grow comfortably in a contained space with just a little care. Wooden boxes are especially well-suited for this crop because:
-
- Durability: Wooden containers can withstand outdoor conditions and provide stability for leafy greens.
- Natural insulation: Wood helps regulate soil temperature, protecting roots from rapid fluctuations.
- Visual appeal: A rustic wooden box adds charm to your garden space, especially when filled with the vibrant stems of Swiss chard.
- Mobility: Containers can be moved to maximize sunlight or shelter the plants during extreme weather.
With its brightly colored stems ranging from red and yellow to orange and white, Swiss chard can double as both a food source and an ornamental plant.
Step 1: Selecting the Right Wooden Container
To grow Swiss chard successfully, start with a sturdy wooden container. The box should be:
-
- At least 12 inches deep to accommodate root growth.
- 18–24 inches wide if you want to grow multiple plants together.
- Equipped with drainage holes at the bottom to prevent waterlogging.
Cedar and redwood are excellent materials because they naturally resist rot. If you’re repurposing old wood, make sure it’s untreated to avoid chemicals seeping into the soil. Adding a liner such as landscape fabric can help extend the life of the wood.
Step 2: Preparing the Soil
Swiss chard grows best in nutrient-rich, well-drained soil. A good container mix includes:
- High-quality potting soil as the base.
- Compost for organic nutrients.
- Perlite or coarse sand to improve aeration.
The ideal pH for Swiss chard is between 6.0 and 7.0. Before planting, mix in a balanced, slow-release fertilizer or organic amendments like worm castings to give your plants a strong start.
Step 3: Choosing Varieties
Swiss chard comes in several colorful varieties, all of which grow well in wooden containers. Popular choices include:
-
- Bright Lights: Famous for its rainbow stems in red, yellow, orange, and pink.
- Fordhook Giant: Large, crinkled leaves with white stems, known for its high yield.
- Ruby Red: Deep red stems with dark green leaves, both decorative and delicious.
Bright Lights is particularly eye-catching and perfect if you want a splash of color in addition to a reliable harvest.
Step 4: Planting Swiss Chard
Swiss chard can be grown from either seeds or seedlings.
- From seeds: Sow seeds about ½ inch deep, spacing them 3–4 inches apart. Thin seedlings later to leave about 8–10 inches between each plant.
- From seedlings: Transplant starts directly into the container, being careful not to damage the roots.
Swiss chard seeds germinate in 7–14 days, and with consistent moisture, they’ll establish quickly in the container.
Step 5: Sunlight and Placement
Swiss chard thrives with 6–8 hours of sunlight daily, though it can tolerate partial shade, especially in hot climates. If growing indoors, place the wooden box near a bright window or use grow lights to supplement natural light.
Because chard is more heat-tolerant than some leafy greens, it can continue producing even in warmer months when crops like spinach struggle.
Step 6: Watering and Feeding
Consistent watering is crucial for Swiss chard. Wooden containers can dry out quickly, so check the soil regularly. Water when the top inch of soil feels dry, ensuring moisture reaches the root zone without leaving the soil soggy.
To encourage steady growth, feed your plants every 2–3 weeks with a nitrogen-rich liquid fertilizer, such as compost tea or fish emulsion. This supports healthy leaf production.
Step 7: Caring for Swiss Chard
Swiss chard is relatively low-maintenance, but regular care keeps it thriving:
-
- Remove yellow or damaged leaves promptly.
- Watch for pests like leaf miners and aphids. Hand-pick pests or use natural sprays like neem oil if needed.
- Mulch the soil surface with straw or shredded leaves to retain moisture.
Because Swiss chard is frost-tolerant, it can be grown nearly year-round in many climates.
Step 8: Harvesting Swiss Chard
One of the best things about Swiss chard is its long and generous harvest window. You can begin harvesting when the leaves are 6–8 inches long. Use the cut-and-come-again method: snip outer leaves near the base, leaving the central stalk intact. This allows the plant to continue producing for months.
Tender young leaves are perfect for salads, while mature leaves can be sautéed, added to soups, or used in hearty dishes. The stems are also edible and delicious when cooked.
Step 9: Extending the Harvest
For a continuous supply, sow seeds in succession every 3–4 weeks. In colder climates, bring wooden boxes indoors or protect them with row covers or a cold frame to extend the season.
Final Thoughts
Swiss chard is a nutritious, colorful, and easy-to-grow vegetable that adapts well to wooden container gardening. With the right soil, sunlight, and care, you can enjoy a steady harvest of fresh greens from a small space. Its resilience, visual appeal, and extended harvest window make it a top choice for beginner and experienced gardeners alike.
By growing Swiss chard in wooden boxes, you not only save space but also add beauty and freshness to your home garden. Whether you’re after vibrant salads, sautéed greens, or simply a splash of color on your balcony, Swiss chard delivers all of this and more.
