
Roses are among the most iconic and cherished flowers around the world. Whether they’re climbing a trellis, growing in neat rows in a garden bed, or displayed as cut flowers in a vase, roses have a universal appeal. Their elegance, wide range of colors, and captivating fragrance make them a favorite for gardeners in nearly every country.
Despite their beauty and popularity, roses have a reputation for being a bit tricky to maintain. Many people struggle with keeping their rose plants blooming consistently throughout the year. However, with the right propagation technique and a little care, it’s easy to grow healthy, vibrant roses at home—and even multiply your favorite varieties for free.
Why Propagate Roses?
Propagation is the process of growing new plants from a parent plant. For roses, this is usually done using stem cuttings. It’s an affordable and rewarding way to expand your garden, preserve rare or heirloom varieties, and produce strong, healthy plants that are already adapted to your local growing conditions.
When done correctly, rose propagation not only saves money but also allows gardeners to enjoy blooms from their favorite plants all year round.
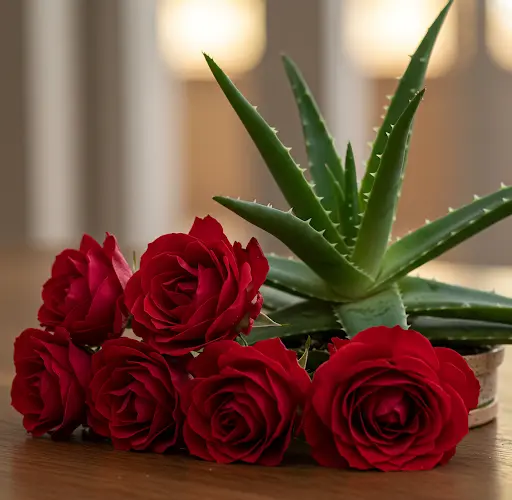
Tools and Materials You’ll Need
To propagate roses at home, gather the following materials:
- A healthy, mature rose bush
- Sharp pruning shears or garden scissors
- Small pots or containers
- Potting soil (preferably a mix with good drainage)
- A clear plastic bag or a plastic bottle (for creating humidity)
- Clean water
- Optional: natural rooting agents like honey, cinnamon, or aloe vera gel
Step-by-Step Instructions for Rose Propagation
1. Select and Cut the Stem
Begin by selecting a healthy stem from a rose plant. Look for a stem that is green, flexible, and has recently finished blooming. It should be about the thickness of a pencil and 6 to 8 inches in length.
Use sterilized pruning shears to make a clean, angled cut just below a node (the small bump where leaves or buds grow). Remove any flowers, buds, and most of the leaves from the stem, leaving just a couple of top leaves to help the cutting photosynthesize.
2. Prepare the Cutting for Rooting
Before planting the cutting, consider dipping the bottom end in a natural rooting substance. While optional, this step can increase the chances of successful rooting. Honey, aloe vera gel, or cinnamon all offer mild antifungal properties and stimulate root growth.
3. Plant the Cutting
Fill a small pot or container with moist, well-draining potting mix. Using a pencil or stick, make a hole in the center and insert the cutting about halfway into the soil. Gently firm the soil around the base of the cutting to provide support.
4. Create a Mini Greenhouse
To retain humidity and encourage root development, cover the cutting with a clear plastic bag or a cut plastic bottle. Make sure the plastic doesn’t touch the leaves. This step helps maintain moisture and temperature, mimicking the ideal environment for root formation.
Place the covered pot in a location with bright, indirect sunlight. Avoid exposing the cutting to direct sun, which can dry it out or cause overheating.
5. Water and Monitor
Keep the soil consistently moist but not waterlogged. Overwatering can lead to rot, while under-watering can dry out the cutting. Mist the inside of the plastic cover occasionally to maintain humidity.
Check on the cutting regularly, but avoid disturbing it too often. After about 3 to 4 weeks, you may start to see new leaf growth—a sign that roots have begun to form.
6. Transplant the New Plant
Once the cutting has developed roots and new growth, it’s time to slowly acclimate it to normal conditions. Remove the plastic covering for a few hours each day, gradually increasing the time until the plant can thrive without the added humidity.
You can then transplant the rooted rose into a larger pot or directly into the garden. Choose a spot that receives at least 6 hours of sunlight per day and has good air circulation.
Caring for Your New Rose Plant
After transplanting, continue to water the rose regularly and consider feeding it with a balanced, slow-release fertilizer. Keep an eye out for pests or diseases and prune away any damaged leaves or stems to encourage strong growth.
With proper care, your new rose plant will grow steadily and begin producing blooms. Regular deadheading (removal of spent flowers) will also promote continuous flowering.
Final Thoughts
Roses may seem high-maintenance, but propagating and caring for them doesn’t have to be complicated. By following these simple steps, anyone can grow new rose plants at home and enjoy the satisfaction of watching them bloom. Whether you’re an experienced gardener or just starting out, propagating roses is a fulfilling way to connect with nature and beautify your surroundings.
