
If you have a stack of old road maps tucked away in a drawer, don’t throw them out just yet. One creative crafter recently transformed forgotten maps into beautiful decorative trays using nothing more than Mod Podge, simple wooden trays, and a little imagination. The result was so stunning that members of her craft group immediately started making their own versions.
These map-covered trays are practical, inexpensive, and packed with personality. Whether you use maps from memorable vacations, hometowns, or dream destinations, each tray becomes a unique piece that tells a story.
The finished project, shown above, turns ordinary wooden trays into eye-catching decorative pieces perfect for organizing keys, jewelry, candles, office supplies, or serving drinks and snacks.
Why This DIY Project Is So Popular
This craft has become a favorite among DIY enthusiasts because it combines creativity with nostalgia.
The Benefits
- Gives old maps a second life
- Creates meaningful home décor
- Requires minimal crafting experience
- Uses inexpensive materials
- Makes thoughtful handmade gifts
- Can be customized with any location
Every tray becomes a conversation starter because no two map sections are exactly alike.
Materials You’ll Need
Before starting, gather the following supplies:
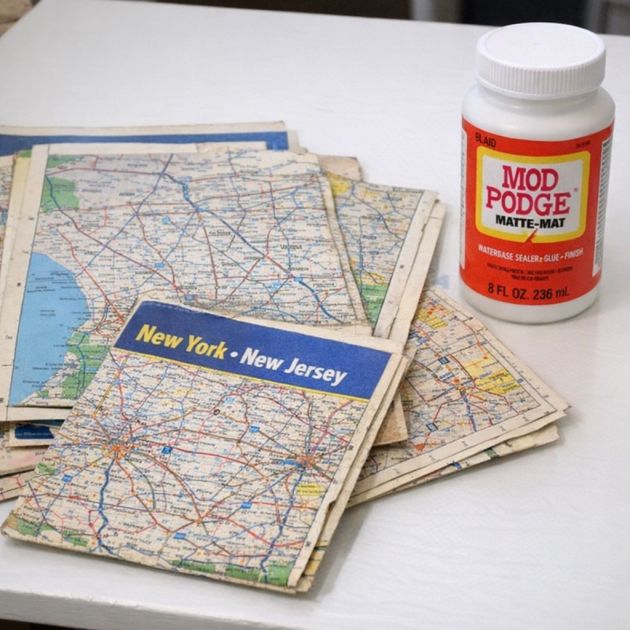
- Old road maps or travel maps
- Wooden trays or shallow wooden boxes
- Mod Podge (matte or gloss)
- Foam brush or paintbrush
- Scissors
- Ruler
- Pencil
- Sandpaper (optional)
- Clear acrylic sealer (optional)
Step-by-Step Guide
Step 1: Select Your Map Sections
Choose the portions of the map you want to display.
Many crafters like to highlight:
TO CONTINUE READING THE ARTICLE PLEASE SEE PAGE 2
Many crafters like to highlight:
- Their hometown
- Favorite vacation spots
- National parks
- Scenic routes
- Places where special memories were made
Lay the tray over the map to determine which section will fit best.
Step 2: Measure the Tray
Carefully measure the inside bottom of the tray.
Use a ruler to record:
- Length
- Width
Transfer these measurements to the map.
Step 3: Cut the Map
Using sharp scissors, cut the selected map section slightly smaller than the tray’s interior dimensions.
Test-fit the piece before applying any adhesive.
The map should lie flat without buckling or curling at the edges.
Step 4: Prepare the Tray
If the wooden tray has rough surfaces, lightly sand them.
Wipe away dust and ensure the surface is clean and dry.
A smooth surface helps achieve a professional-looking finish.
Step 5: Apply the First Layer of Mod Podge
Using a foam brush, spread a thin, even layer of Mod Podge across the tray’s bottom.
Work quickly but carefully.
Avoid applying excessive amounts, as too much adhesive can create wrinkles.
Step 6: Position the Map
Carefully place the cut map into the tray.
Start at one side and slowly lower it into position.
Use your fingers or a credit card wrapped in a soft cloth to smooth out:
- Air bubbles
- Wrinkles
- Raised edges
Allow the piece to sit for several minutes.
Step 7: Seal the Surface
Once the map is securely attached, brush a thin layer of Mod Podge over the entire map surface.
Cover every corner and edge.
This protective coat seals the paper and gives it durability.
Let it dry completely.
Step 8: Add Additional Coats
For the best results, apply two to four additional coats.
Allow each coat to dry before adding the next.
Multiple layers provide:
- Better protection
- Enhanced durability
- A smoother finish
- A professional appearance
Step 9: Optional Protective Finish

For trays that will receive frequent use, spray a clear acrylic sealer over the finished project.
This extra layer helps resist moisture and wear.
Creative Variations
One reason this project has become so popular is its flexibility.
Travel Memory Tray
Use maps from a memorable road trip.
Wedding Location Tray
Highlight the city where you got married.
Family Heritage Tray
Feature towns connected to your family’s history.
Dream Destinations Tray
Show places you hope to visit one day.
State or Country Themes
Create matching trays featuring different regions.
Decorating with Map Trays
These finished trays work beautifully throughout the home.
Entryway
Store keys, sunglasses, and wallets.
Living Room
Display candles and decorative objects.
Bedroom
Organize jewelry and watches.
Office
Keep pens, paper clips, and notes neatly arranged.
Coffee Table
Use as a stylish decorative centerpiece.
A Perfect Handmade Gift
Because each tray can be personalized, they make wonderful gifts for:
- Travelers
- Newlyweds
- Graduates
- Parents
- Friends who love road trips
A tray featuring a meaningful location often becomes a treasured keepsake.
Final Thoughts
This simple Mod Podge project proves that beautiful home décor doesn’t have to be expensive. By combining old road maps with wooden trays, you can create functional pieces filled with memories and character.
It’s easy to see why this idea is spreading through craft groups everywhere. With just a few supplies and a little creativity, forgotten maps can be transformed into stunning trays that are both practical and deeply personal. The next time you find an old road map, think twice before tossing it away—it might be the perfect foundation for your next favorite DIY project.
