Garlic is a versatile, nutritious plant that adds rich flavor to many dishes. Growing garlic at home ensures a fresh, organic supply all year round. In this comprehensive guide, we will walk you through every step of growing garlic in your home garden, from choosing the right garlic type to harvesting and storing for long-term use.
Choosing the Right Type of Garlic for Your Garden
Garlic comes in two main varieties: hardneck and softneck. Each has unique characteristics that determine how well they grow in your region and how they taste.
- Hardneck Garlic: Ideal for cooler climates, hardneck garlic produces fewer but larger cloves. Its flavor is more robust, and it develops scapes—long flower stalks that can be harvested and used in cooking.
- Softneck Garlic: Best suited for warmer climates, softneck garlic produces more cloves but they are smaller in size. This variety stores for a longer period and is the type you often find in grocery stores.
Selecting Garlic Bulbs
Always use organic garlic bulbs for planting. Avoid grocery store garlic that may be treated with chemicals to prevent sprouting. Local farmers’ markets or garden centers are great places to purchase seed garlic.
Preparing the Soil for Garlic Planting
Garlic thrives in well-drained, fertile soil with a pH level between 6.0 and 7.0. Loosen the soil to a depth of 12 inches to allow for root growth and add plenty of organic compost. Garlic prefers soil rich in nutrients, so incorporating aged manure or compost will help the plants flourish.
Sunlight Requirements
Garlic requires full sunlight for at least 6 hours a day. Choose a location in your garden that receives plenty of direct sunlight, as this helps the bulbs grow larger and more flavorful.
Planting Garlic: Step-by-Step Guide
Planting garlic is a simple process, but timing is crucial. Garlic is typically planted in the fall, 4 to 6 weeks before the first frost, allowing the bulbs to develop strong roots before winter.
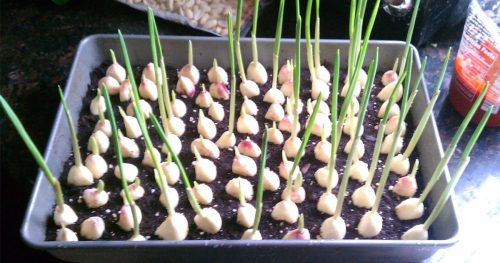
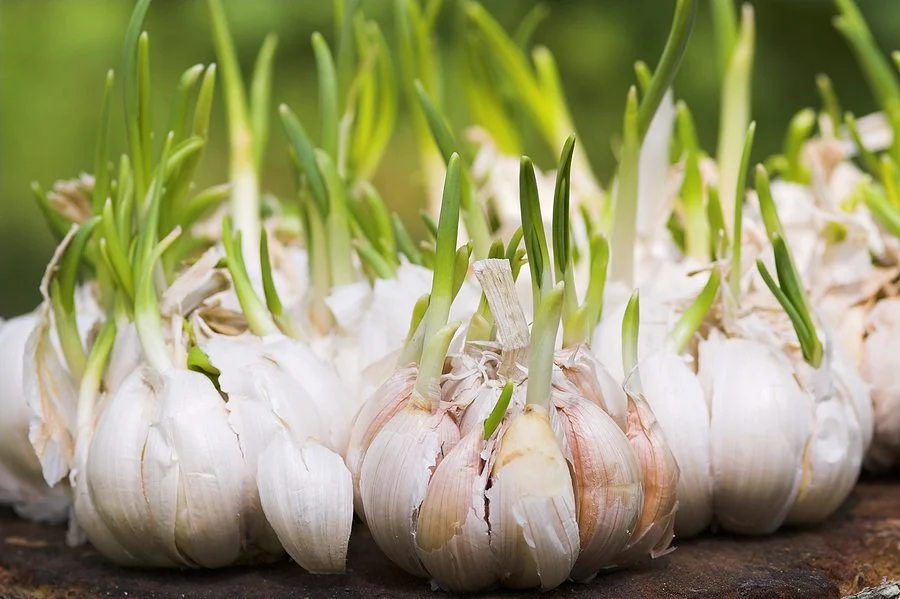
- Separate the Cloves: Break the garlic bulb into individual cloves, keeping the papery skin intact.
- Prepare the Planting Site: Dig holes or rows 2 inches deep and 4-6 inches apart. Space rows at least 12 inches apart.
- Plant the Cloves: Place each clove in the hole, root side down (pointy end up), and cover it with soil.
- Watering: Water the planted cloves well, ensuring the soil is moist but not waterlogged.
Caring for Your Garlic Plants
Proper care ensures a bountiful garlic harvest. Regular watering, mulching, and fertilization are essential to healthy garlic growth.
Mulching
After planting, apply a thick layer of mulch (such as straw or leaves) over the planting area. Mulching helps retain moisture, suppress weeds, and protect the bulbs during winter. In the spring, remove some of the mulch to allow the soil to warm up.
Watering
Garlic needs consistent moisture, especially during the growing season. Water deeply every week, ensuring the soil remains moist but not soggy. Avoid overhead watering, which can promote fungal diseases.
Fertilizing
Garlic benefits from a balanced fertilizer high in nitrogen. Apply fertilizer in early spring when the shoots begin to emerge, then side-dress the plants with compost or a nitrogen-rich fertilizer every 3-4 weeks.
Harvesting Garlic
Garlic is usually ready for harvest in mid-summer. The best time to harvest is when the lower leaves turn brown but 5-6 upper leaves are still green. This signals that the bulbs have matured but are not yet overripe.
Harvesting Process
- Loosen the Soil: Use a garden fork or shovel to gently loosen the soil around the garlic bulbs.
- Pull the Bulbs: Carefully lift the garlic from the ground by its stem. Be gentle to avoid damaging the bulbs.
- Cure the Garlic: Lay the harvested bulbs in a cool, dry, and well-ventilated area to cure for 2-3 weeks. Curing helps to dry out the bulbs, enhancing their flavor and shelf life.
Storing Garlic for Long-Term Use
Once cured, garlic can be stored for several months. Store garlic in a cool, dark, and dry place, such as a pantry or cellar. Softneck garlic typically lasts longer than hardneck varieties.
Storing Tips:
- Avoid Refrigeration: Cold storage can cause garlic to sprout prematurely.
- Use Breathable Containers: Store garlic in mesh bags or paper, allowing airflow to prevent mold growth.
Common Garlic Growing Problems and Solutions
Yellowing Leaves
If your garlic leaves turn yellow, it could be a sign of nutrient deficiency or overwatering. Ensure the soil is well-drained, and add a balanced fertilizer to resolve this issue.
Pests and Diseases
- Garlic Rust: This fungal disease causes orange spots on leaves. Prevent rust by ensuring proper air circulation and avoiding overhead watering.
- Onion Thrips: These small insects can damage garlic leaves. Use neem oil or insecticidal soap to control infestations.
Conclusion: Grow Garlic Year After Year
Growing garlic at home is rewarding and easy with the right preparation. By following these steps, you can enjoy an endless supply of fresh, flavorful garlic for cooking and health benefits. Whether you’re planting hardneck or softneck varieties, proper care, and timing are essential to ensure a successful harvest. With the right storage techniques, your garlic will stay fresh and flavorful all year long.
By following this guide, you can ensure a thriving garlic crop in your home garden season after season.
