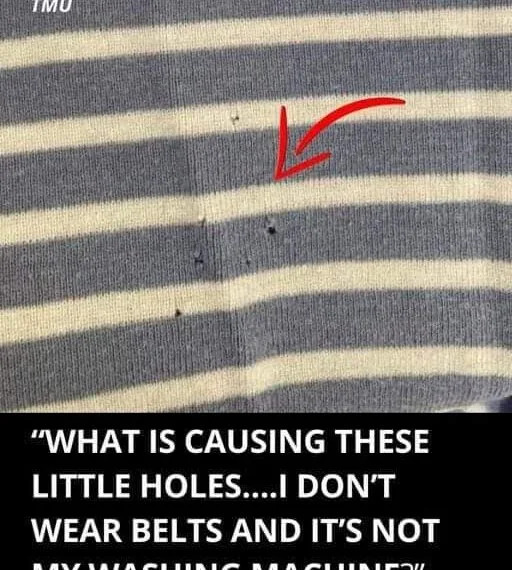
If you have a hole in your clothing and you don’t want to sew it, using fabric adhesive or fabric glue is a simple and effective alternative. Here’s a step-by-step guide on how to fix the hole without sewing:
Materials Needed:
- Fabric adhesive or fabric glue (make sure it’s washable and flexible)
- Patching fabric (choose a fabric that’s similar in color or pattern to the clothing, or get creative with a contrasting design)
- Scissors
- An iron (optional, if required for setting the glue)
- A clean cloth or paper towel
Step-by-Step Instructions:
1. Prepare the Area
- Clean the fabric: Ensure the area around the hole is clean and dry. Wash and dry the fabric if necessary, to remove any dirt or oils that could prevent the adhesive from sticking properly.
- Trim any frayed edges: Use scissors to trim any ragged edges around the hole. You want the fabric around the hole to be neat so the patch sticks well.
2. Cut the Patch
- Size the patch: Cut a piece of fabric that is slightly larger than the hole (about ½ inch to 1 inch on all sides). If the hole is irregular in shape, cut the patch to match or slightly overlap the hole’s shape.
- Shape the patch: You can either cut the patch in a simple square or rectangle or get creative and cut it into fun shapes or patterns, depending on your style and the look you want.
3. Apply the Fabric Adhesive
- Read the instructions: Follow the specific instructions on your fabric adhesive. Some adhesives require shaking or mixing before use.
- Apply the glue: Squeeze a thin, even layer of fabric glue around the edges of the hole. If the adhesive requires it, you may also apply a small amount directly to the back of the patch.
- Be careful not to over-apply: Too much glue can seep out from under the patch when pressed, making a mess or stiffening the fabric.
4. Attach the Patch
- Place the patch: Position the patch over the hole, making sure it covers the hole completely and is centered in the area.
- Press it down: Firmly press the patch down onto the fabric, ensuring there’s good contact between the adhesive and both the patch and the clothing fabric.
- Hold for a few seconds: Keep pressure on the patch for about 30 seconds to a minute to ensure a good bond. Some fabric adhesives may need a few minutes to set, so check the manufacturer’s recommendations.
5. Set the Adhesive (if necessary)
- Heat set: If the fabric adhesive requires heat to set, place a clean cloth over the patch and gently press with an iron. Set the iron to a low or medium heat setting (without steam), and press it down for about 20–30 seconds to ensure the glue bonds well.
- Let it dry: Allow the adhesive to dry completely before wearing the garment. Drying times vary by adhesive, but it’s typically 1-2 hours. Check the glue instructions for the exact drying time.
6. Final Touches
- Check for any excess glue: Once the patch is dry, check for any visible glue that may have squeezed out. If you see excess glue, gently scrape it off with a fingernail or a soft cloth.
- Iron the fabric: If necessary, iron the clothing as usual to smooth out any wrinkles or to further set the patch.
Tips for Best Results:
- Choose the right adhesive: Look for a fabric glue that is flexible, durable, and washable, as some glues may dry too stiff or become brittle over time.
- Make sure the patch matches: Try to pick a patch that blends well with the fabric for a seamless look, but feel free to experiment with fun patches or contrasting fabrics for a more decorative effect.
- Test in a small area first: If you’re not sure how the adhesive will work with your fabric, test it on a small, inconspicuous area first.
Benefits of This Method:
- No sewing required: This method is fast and easy, especially for those who don’t want to sew.
- Great for delicate fabrics: It works well for fabrics that are difficult to sew (like leather, stretchy materials, or fabrics with a loose weave).
- Quick repairs: You can quickly fix clothing without needing specialized tools or skills.
With this simple technique, you can repair a hole in your clothing and get back to wearing your favorite items in no time
