You probably already know aloe vera as a tough, low-maintenance succulent that lives happily on a windowsill.
But what if you could surprise yourself (and your friends) by turning that same aloe into a hanging air plant? It’s a quirky, decorative twist — not necessarily better for growth, but definitely more fun.
In this guide, you’ll learn:
- What it means for aloe to live “in the air”
- What materials you’ll need
- Step-by-step instructions
- How to water it
- Lighting, placement, and bonus tips
Let’s get started.
Why Try Growing Aloe As An Air Plant?
- It’s interesting. This method mimics how aloe sometimes appears in its native habitat — growing from cliff edges or crevices.
- It’s decorative. You turn a humble succulent into a hanging conversation piece.
- It’s experimental. There’s no guarantee it outperforms a potted aloe, but it offers a new way to display your plant.
Note: this isn’t a guaranteed upgrade in health or growth. It’s more about novelty and style.
Materials You’ll Need
Gather:
- A small aloe plant
- Burlap square (to wrap roots)
- Cotton or butcher’s twine
- Pebbles
- Soilless media (coconut coir or similar) — optional but helpful
- Scissors
These items are common and often available at garden centers or craft stores.
Step-by-Step: How to Make an Aloe Air Plant
1. Remove and clean the roots
Take your aloe out of its pot, gently washing off the soil so you have clean roots exposed.
2. Cut burlap to size
Use a square of burlap large enough to wrap the root ball plus some space for substrate.
3. Add substrate base
In the center of your burlap, place a small handful of pebbles. Then, if using, add some coconut coir or soilless media. This gives structure and holds moisture.
4. Place aloe and wrap
Set the aloe’s roots onto the substrate, then bring the burlap edges up around the base. Tie securely with the cotton twine — snug but not strangling.
5. Trim excess burlap
Cut away any excess material so it looks clean and tidy.
6. Add hanging mechanism
Leave a length of twine or string so you can suspend it. You can also wrap decorative layers or let the hemp string help wick moisture.
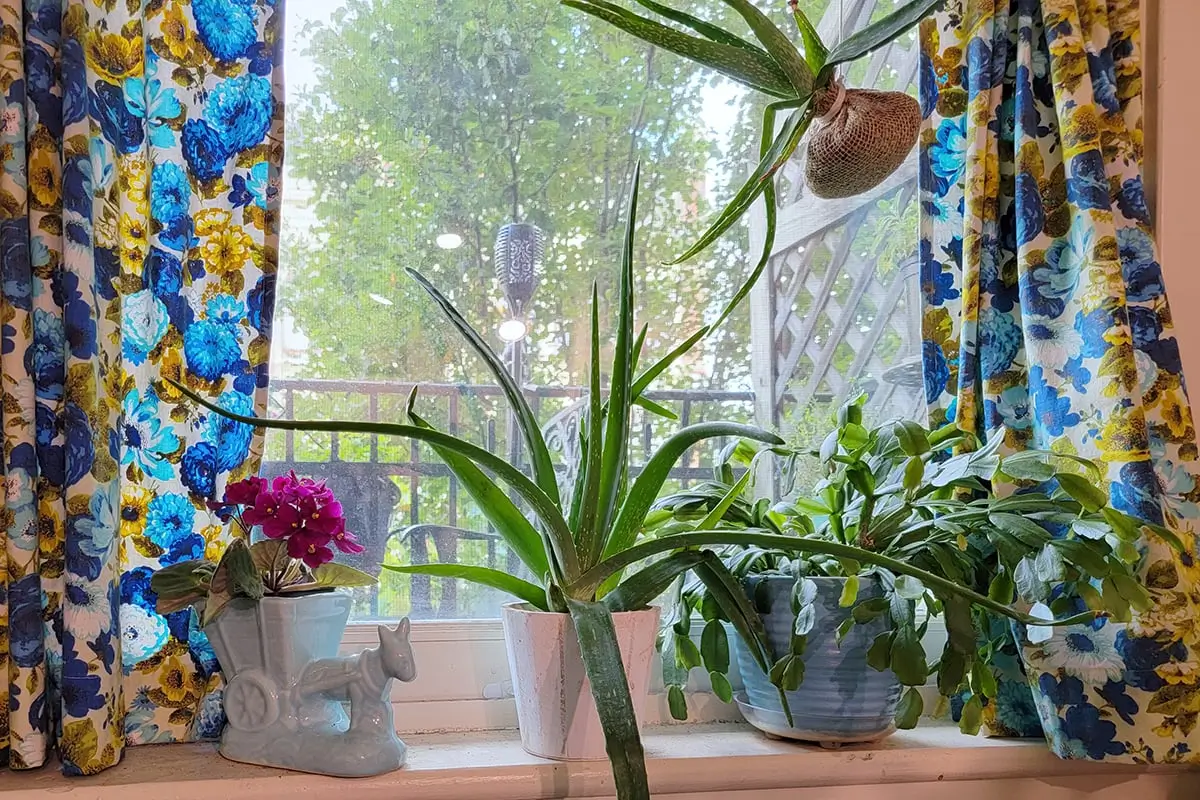
Voila — you’ve created an aloe “air plant.”
Watering & Hydration Tips
Since this setup lacks soil, your watering method needs to adapt.
- Soak method: Set the burlap-wrapped end in a shallow tray of water for several minutes. Let excess water drip off before rehanging.
- Misting: Use a spray bottle to mist the burlap often — daily in dry environments.
- Schedule: If using soak, do it every couple of weeks. If misting, you may need to spray more often.
The burlap and media help retain moisture for the roots to absorb.
Light, Location & Placement
- Hang your aloe so it gets 4–6 hours of bright light daily. Too little light and it will stretch, too much and it might burn.
- In summer, keep an eye on sun intensity. Move it slightly if leaves begin to scorch.
- Position near a window with filtered light; avoid intense direct midday sun if possible.
Dealing with Offshoots (Pups)
If your aloe produces baby plants (pups):
- You can make mini hanging aloes from these pups by replicating the same method.
- For very small aloes, you could even attach a magnet to burlap and stick them to your fridge or other surfaces.
This way, one parent plant can generate multiple decorative hanging versions.
Things to Keep in Mind & Troubleshooting
- No growth miracles. You won’t get massive aloe simply by switching to this method.
- Check dryness. Because there’s no soil to buffer moisture, roots can dry out faster. Stay alert.
- Sun damage risk. Even though aloe tolerates sun, its leaves can burn if exposed too strongly.
- Structural support. Make sure the burlap wrapping is secure enough to hold the roots without collapsing.
Final Thoughts
Growing aloe as an air plant pushes the boundaries of conventional succulent care. You’re not likely to get better growth, but you will get a more visually interesting display and a fun experiment to try. If you enjoy poking at common plants and making your own unique setups — this is a great little project.
