Step-by-Step Guide to Making the Fertilizer
1. Preparing the Ingredients
- Banana Peels: Collect banana peels and let them dry out completely in the sun or in an oven at a low temperature. Once dried, grind them into a fine powder using a blender or mortar and pestle.
- Wood Ash: Ensure that the wood ash you use comes from untreated, chemical-free wood. After collecting the ash, sift it through a fine mesh to remove any large particles or debris.
- Epsom Salt: Epsom salt is readily available at most pharmacies or gardening stores. It doesn’t require any special preparation and can be used directly.
- Eggshells: Wash the eggshells thoroughly to remove any residue, then let them dry completely. Crush them into a fine powder using a blender or mortar and pestle.
2. Mixing the Fertilizer
Once all the ingredients are prepared, it’s time to mix them together:
- In a Large Container: Combine 1 cup of banana peel powder, 1 cup of wood ash, 1 tablespoon of Epsom salt, and 1/4 cup of crushed eggshells.
- Mix Thoroughly: Stir the mixture until all the ingredients are evenly distributed.
3. Storing the Fertilizer
- Dry Mix: Store the dry fertilizer mix in an airtight container in a cool, dry place. It can be kept for several months without losing its effectiveness.
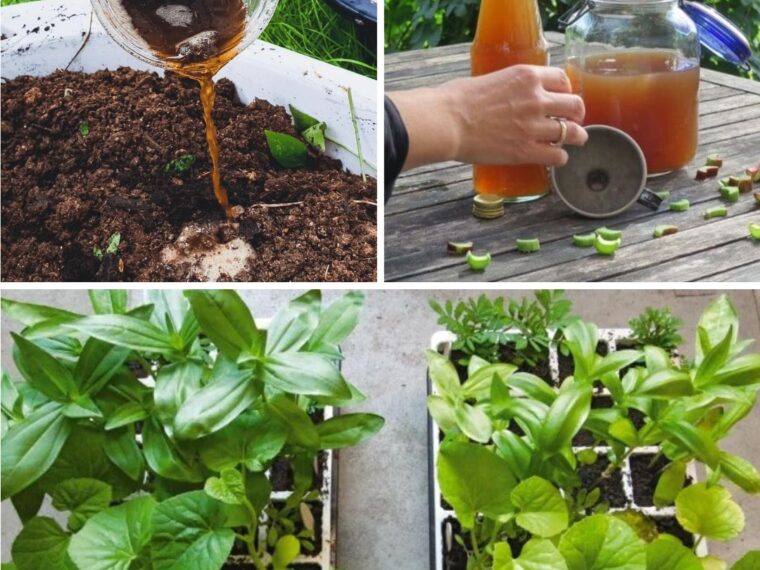
- Liquid Fertilizer: To make a liquid version of this fertilizer, mix 2 tablespoons of the dry mix with 1 gallon of water. Let it steep for 24 hours, then strain out any solid particles before using the liquid as a soil drench or foliar spray.
How to Use the DIY Fertilizer
This potassium-rich fertilizer can be used in several ways, depending on your plant’s needs:
1. Soil Application
- For Established Plants: Sprinkle the dry mix around the base of your plants, then gently work it into the top 2-3 inches of soil. Water thoroughly to help the nutrients penetrate the root zone.
- For New Plantings: Mix the fertilizer into the soil at the time of planting, especially for heavy feeders like tomatoes, peppers, and roses.
2. Liquid Application
- Soil Drench: Use the liquid fertilizer to water your plants every 2-3 weeks during the growing season. This method is particularly effective for container plants or in cases where you need a quick nutrient boost.
- Foliar Spray: Spray the diluted liquid fertilizer directly onto the leaves in the early morning or late afternoon to avoid burning the foliage. This allows the plant to absorb nutrients directly through its leaves.
Benefits of Using This DIY Fertilizer
- Cost-Effective: Made from common household items, this fertilizer is an inexpensive way to provide essential nutrients to your plants.
- Organic: Free from synthetic chemicals, this organic fertilizer promotes healthy soil and plant growth without harming the environment.
- Versatile: Suitable for a wide range of plants, including vegetables, fruits, flowers, and ornamental plants.
- Improves Plant Health: Regular use of this potassium-rich fertilizer can result in stronger plants, increased resistance to diseases, and better flowering and fruit production.
Conclusion
Creating your own potassium-rich fertilizer at home is a simple, effective way to boost the health and productivity of your garden. By using readily available organic materials like banana peels, wood ash, Epsom salt, and eggshells, you can ensure that your plants receive the vital nutrients they need to thrive. Whether you’re growing vegetables, flowers, or ornamental plants, this DIY fertilizer will help you achieve a lush, vibrant garden with minimal effort and cost. Give it a try, and watch your plants flourish like never before!
Pages: 1 2
