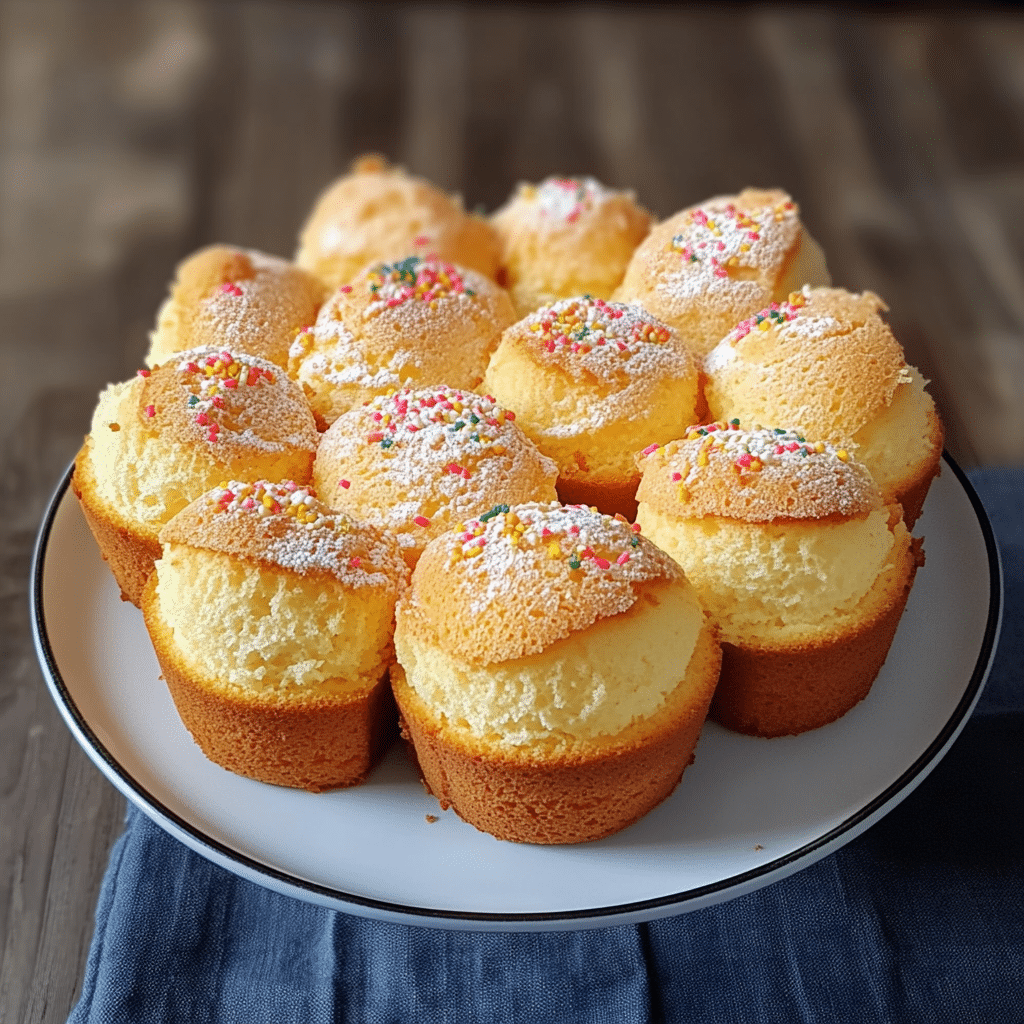
The Victoria Sponge Cake, also known as the Victoria Sandwich, is a quintessential British dessert named after Queen Victoria, who was known to enjoy a slice with her afternoon tea. This classic cake embodies simplicity and elegance, featuring layers of light, airy sponge cake sandwiched together with a generous spread of jam and a dusting of powdered sugar.
Sometimes, a layer of whipped cream or buttercream is added for extra indulgence. The Victoria Sponge Cake is celebrated for its straightforward preparation and timeless appeal, making it a favorite for both novice bakers and experienced pastry chefs alike. Whether served at a sophisticated tea party or as a comforting homemade treat, the Victoria Sponge Cake remains a beloved staple in the world of baking.
Ingredients
- 2 Cups self-raising flour: Self-raising flour is a blend of all-purpose flour, baking powder, and salt. It’s a convenient option for baking cakes as it helps the cake rise perfectly.
- 4 eggs: Eggs provide structure and moisture to the cake. They also help in binding all the ingredients together.
- 250g butter: Butter adds richness and a tender crumb to the cake. Make sure to use it at room temperature for easier mixing.
- 1 tablespoon vanilla essence: Vanilla essence adds a wonderful aroma and flavor, making the cake taste deliciously sweet and fragrant.
- 1/3 cup milk: Milk provides moisture and helps create a smooth batter.
- 1 cup sugar: Sugar sweetens the cake and contributes to its moist texture.
Instructions
- Preheat your oven to 180°C (350°F). This ensures that your oven is at the right temperature when you put the cake in, allowing it to bake evenly.
- Prepare your baking pans. Grease and line two 8-inch round cake pans with parchment paper. This will prevent the cakes from sticking and make them easier to remove after baking.
- Cream the butter and sugar. In a large mixing bowl, beat 250g of butter and 1 cup of sugar together until light and fluffy. This can be done using a hand mixer or a stand mixer fitted with a paddle attachment. This step is crucial as it incorporates air into the batter, which helps the cake rise and gives it a light texture.
- Add the eggs. Beat the eggs in a separate bowl until well combined, then gradually add them to the butter and sugar mixture, beating well after each addition. This ensures that the eggs are fully incorporated and helps prevent the batter from curdling.
- Incorporate the flour. Sift 2 cups of self-raising flour to remove any lumps and ensure a smooth batter. Gradually add the flour to the wet mixture, mixing on low speed until just combined. Overmixing can result in a dense cake.
- Add the vanilla essence and milk. Mix in 1 tablespoon of vanilla essence and 1/3 cup of milk until the batter is smooth and well combined. The milk helps to loosen the batter and make it easier to pour into the pans.
- Divide the batter evenly between the prepared cake pans. Use a spatula to spread the batter out smoothly and ensure an even bake.
- Bake the cakes. Place the cake pans in the preheated oven and bake for 25-30 minutes, or until a toothpick inserted into the center of the cakes comes out clean. Baking times may vary depending on your oven, so keep an eye on the cakes as they bake.
- Cool the cakes. Once baked, remove the cakes from the oven and let them cool in the pans for about 10 minutes. Then, turn them out onto a wire rack to cool completely. This step is important to prevent the cakes from becoming soggy from trapped steam.
- Sandwich and decorate. When the cakes are completely cooled, sandwich them together with a generous layer of strawberry jam. This adds a delightful sweetness and a touch of tartness to the cake. You can also add a layer of whipped cream for extra indulgence.
- Decorate as desired. Finally, decorate the cake as you wish. You can dust it with powdered sugar, cover it with a layer of buttercream, or add fresh fruit on top. Let your creativity shine!
Tips for Success
- Room temperature ingredients: Make sure all your ingredients are at room temperature before you start. This helps them to combine more easily and evenly.
- Don’t overmix: Overmixing the batter can result in a dense, tough cake. Mix just until the ingredients are combined.
- Test for doneness: Use a toothpick or cake tester to check if the cake is done. If it comes out clean or with a few crumbs clinging to it, the cake is ready.
Variations
- Lemon Vanilla Cake: Add the zest of one lemon to the batter for a refreshing twist.
- Chocolate Vanilla Cake: Substitute 1/4 cup of the self-raising flour with cocoa powder for a chocolate version.
- Fruit-Filled Cake: Fold in 1 cup of fresh berries, such as blueberries or raspberries, into the batter for a fruity surprise.
Serving Suggestions
This classic vanilla cake is perfect for any occasion. Serve it as a dessert at a dinner party, enjoy a slice with your afternoon tea, or celebrate a birthday with this delightful treat. The simple yet delicious flavors make it a crowd-pleaser.
Conclusion
Baking a cake from scratch can be a rewarding experience. This classic vanilla cake recipe is straightforward and yields a deliciously light and fluffy cake. By following these detailed instructions and tips, you’ll be able to create a beautiful cake that’s perfect for any celebration. Enjoy baking and, most importantly, enjoy eating your homemade cake!
